
ラズパイでシリアル通信を有効にする手順です。
シリアル通信有効化
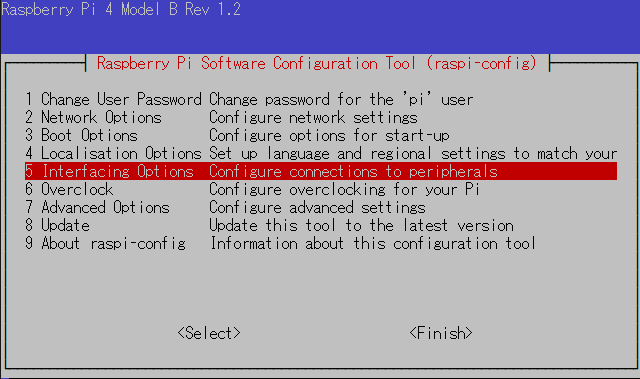
コンフィグ変更画面を起動します。
# sudo raspi-config5 Interfacing Options Configure connections to peripheralsを選択します。
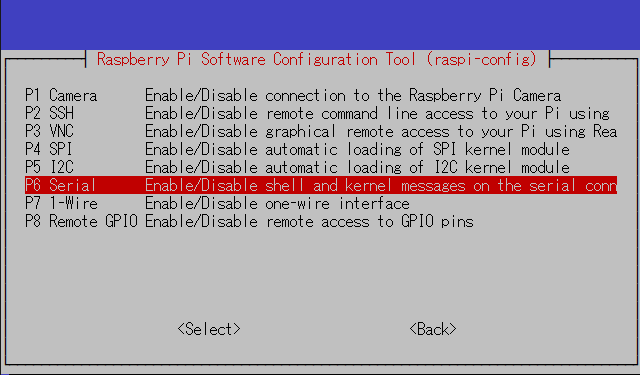
P6 Serial Enable/Disable shell and kernel messages on the serial connを選択します。
Would you like a login shell to be accessible over serial? については<No>を選択します。

Would you like the serial port hardware to be enabled?は<Yes>を選択します。

設定後、ラズパイを再起動して完了です。
コメント