
Raspberry Pi カメラモジュール V2を使用し、pythonにより写真撮影をします。
前提
ラズパイ:Raspberry pi 4B
OS:Raspbian GNU/Linux 10 (buster)
使用言語:python3
事前準備
アップデート
# sudo apt-get update
# sudo apt-get upgrade
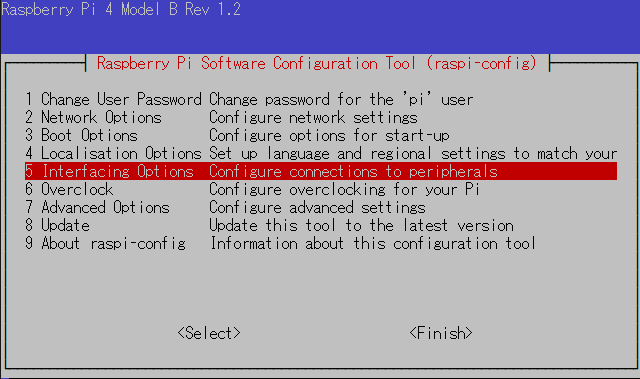
# sudo apt-get dist-upgradeラズパイカメラ接続有効化
# sudo raspi-config5 Interfacing Options Configure connections to peripheralsを選択します。
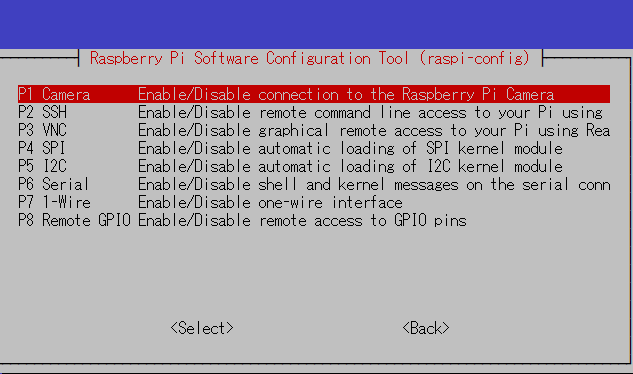
P1 Camera EnableDisable connection to the Raspberry Pi Cameraを選択します。
Would you like the camera interface to be enabled <Yes>を選択します。
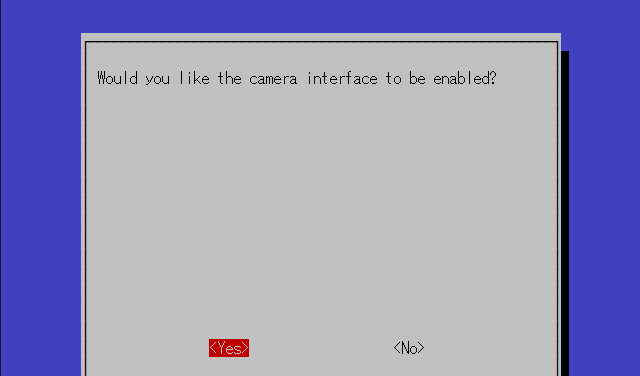
The camera interface is enabledを確認します。
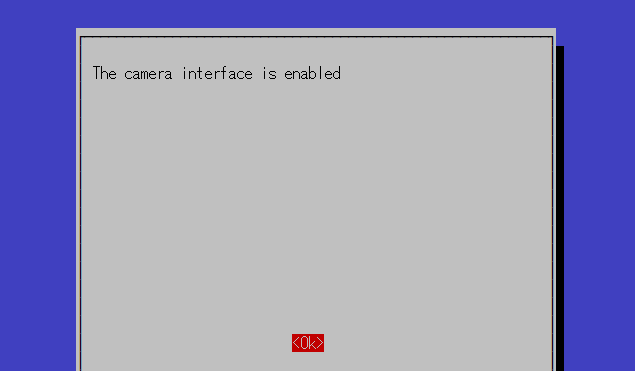
再起動して設定完了です。
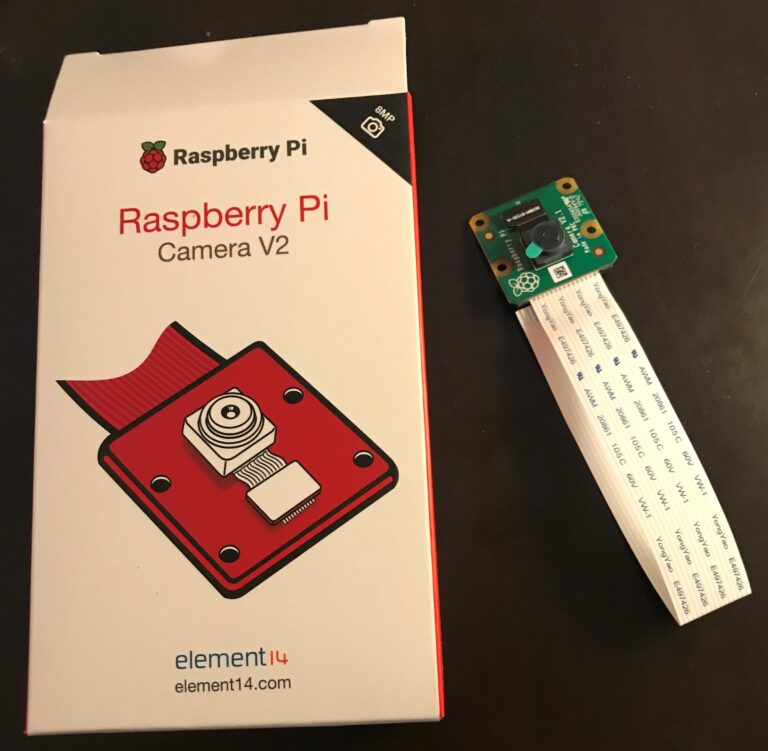
ラズパイカメラ
ラズパイカメラ準備
amazonから購入しました。
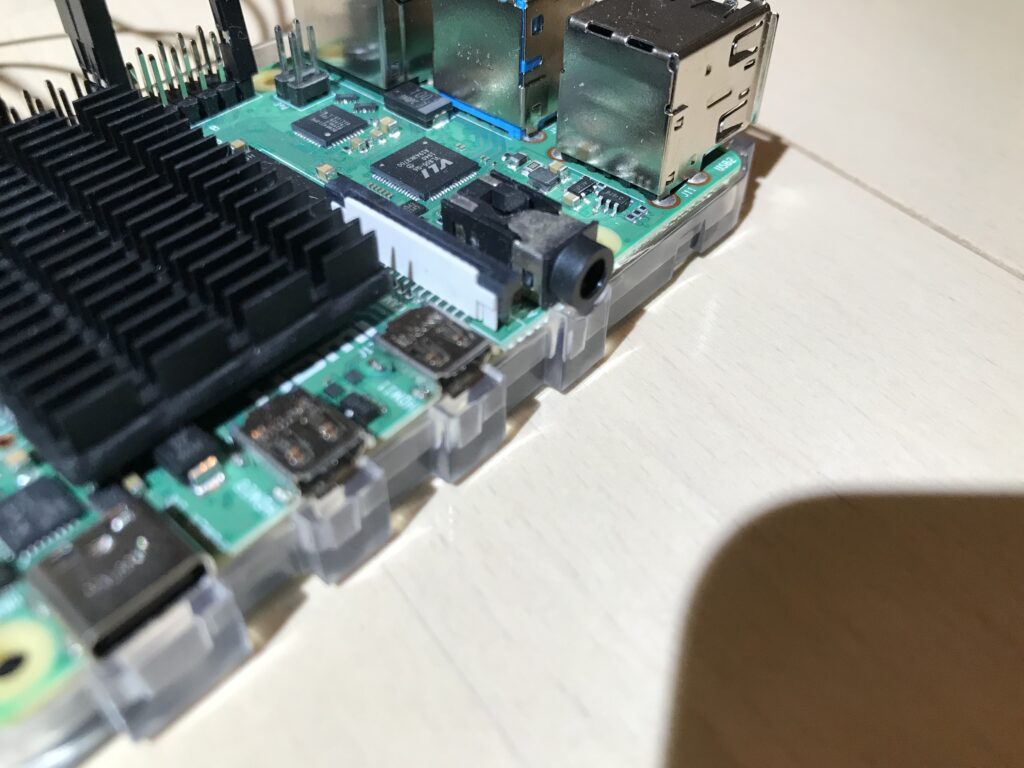
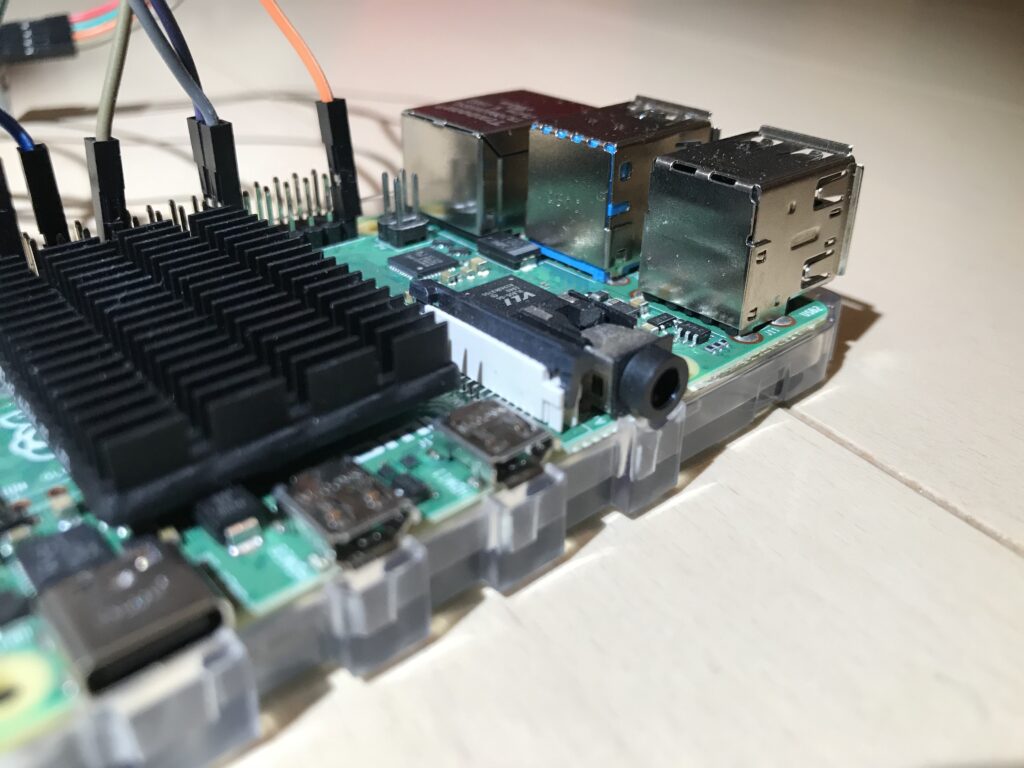
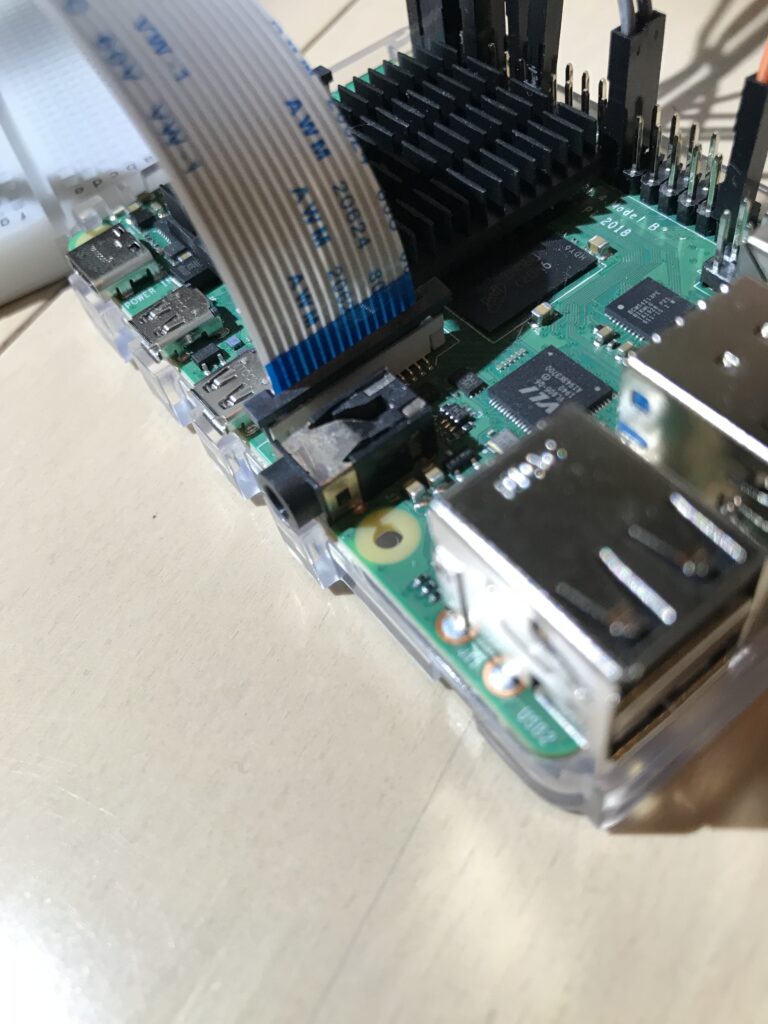
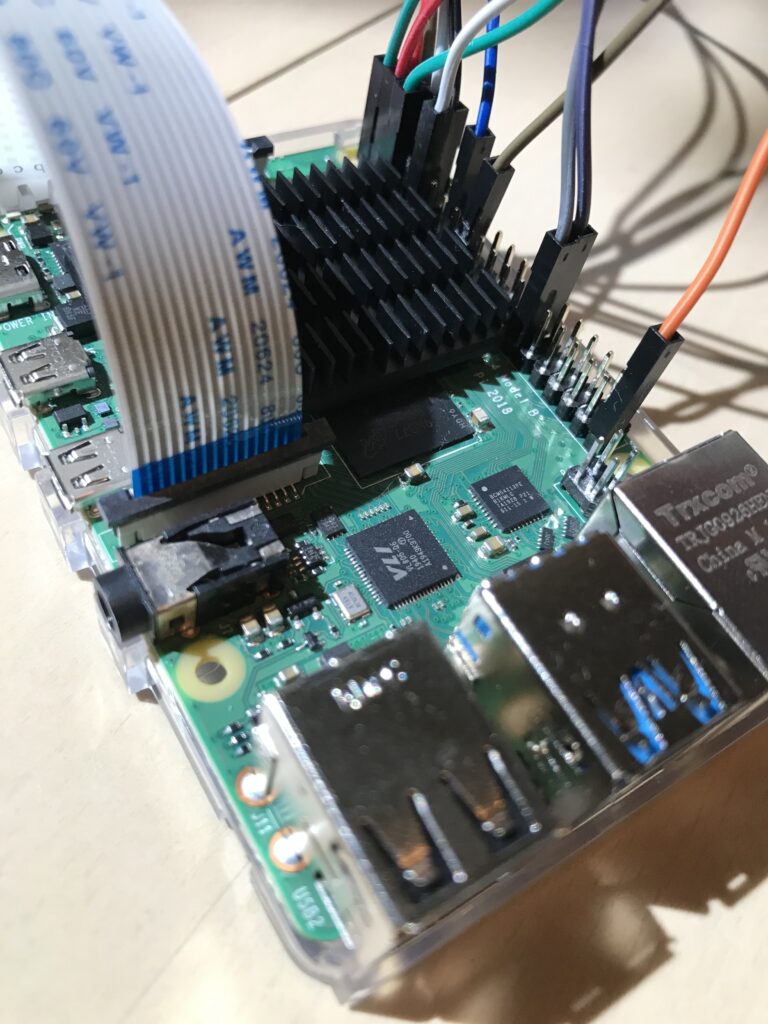
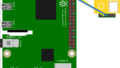
カメラモジュール接続
こんな風に接続します。
接続確認
# vcgencmd get_camera
supported=1 detected=1
supported=1 detected=1となっていることを確認します。
ラズパイ
モジュール
至極簡単に実現しようとすると以下の3ステップです。
# vi sample.py
import picamera

cam = picamera.PiCamera()
cam.capture("test.jpg")
#python sample.py
sample.pyと同一フォルダにtest.jpgが作成されます。

コメント